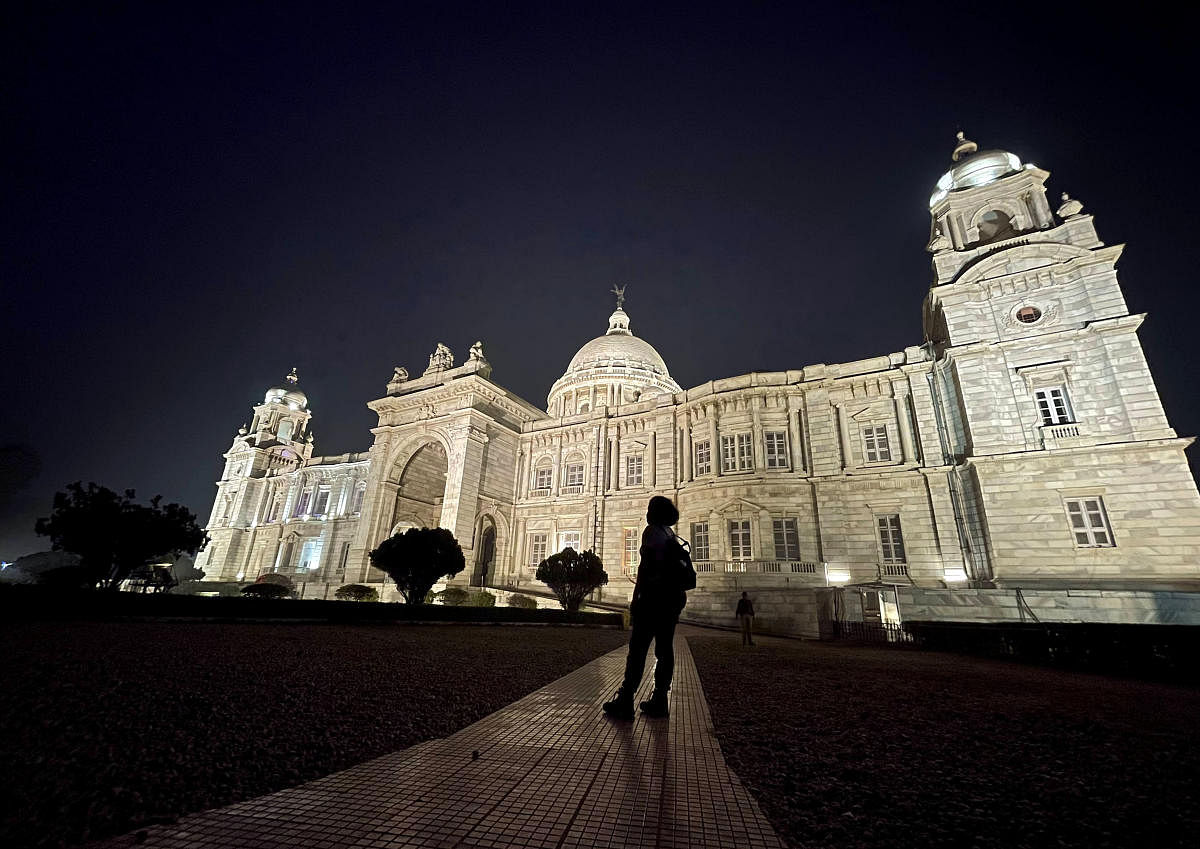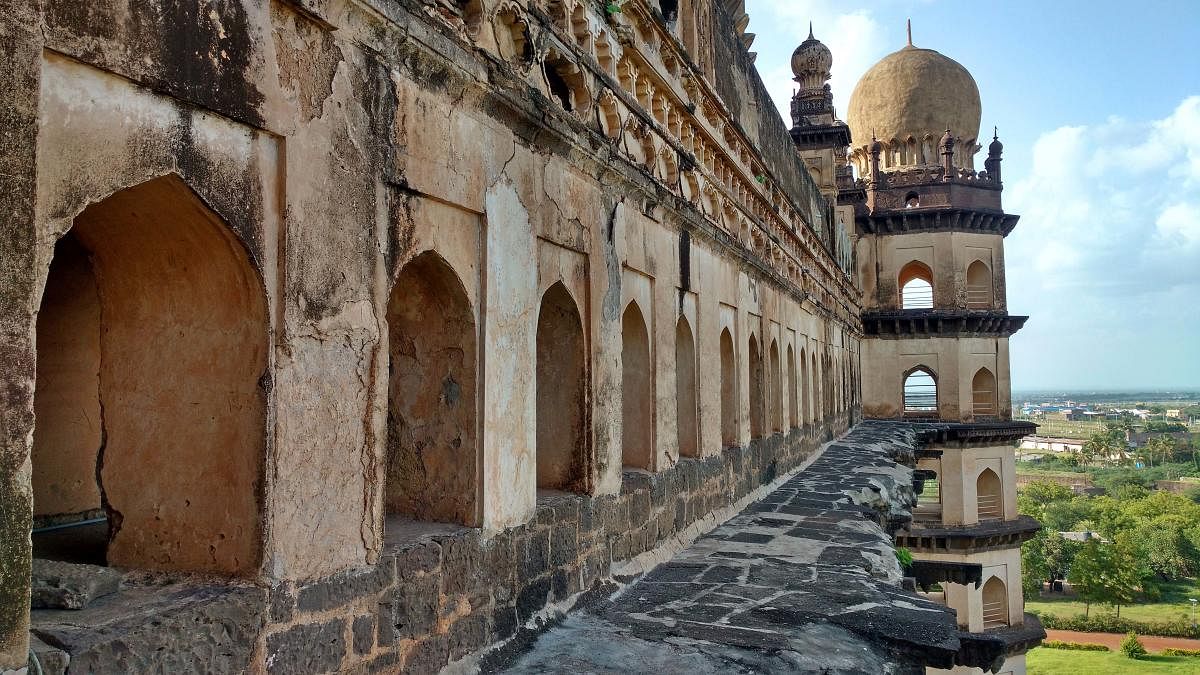

Architectural photography is about capturing buildings and structures. From heritage buildings to modern glass facades and even a simple staircase — everything is a part of the architecture. One of the first pictures made when photography began was that of a building. The most common classification is exterior and interior architectural photography. A good photographer can tell the story of a building through his pictures. Here are some tips and tricks:
• Where to start: Government buildings, historic landmarks or museums are a good start. These types of structures are usually accessed for free and offer interesting architecture. Most photographers capture the entire structure; however, don’t miss out on the small details of a building.
• Explore, then shoot: You should spend some time exploring the building and get to know it. Start off walking around the outside of the building and then explore the inside. Take a walk back and see the building as a whole from different corners and walk slowly to observe minute details. Consider doing research on the building during which you may also discover interesting architectural features that you can photograph. If revisiting is an option, visit the building during different times of the day or season.
• Lighting: An important aspect of capturing the best details of a building is lighting. Light plays differently at different times of the day. Sometimes, even a soft light during a cloudy day brings out the best details of a building. As a photographer, one should visualise the play of light. Incorporate HDR in the shoot as it helps capture the interior lighting that contrasts with the conditions outside. HDR allows you to make sure everything is exposed properly. High contrast or deep shadows can be dramatic but they tend to cover the smaller details. Sharpness is crucial.
• Equipment: Wide-angle lenses are useful for structure photography. They can be a big help when you are trying to fit a huge structure into the frame but in a controlled perspective. But remember wide-angle lenses cause more distortion around the edges. However, you will also have more space to play with when it comes to cropping and fixing the distortion in the editing software. To get creative shots, use tilt-shift lenses, which can create a unique effect and add extra glamour to the picture.
• Patterns and shapes: Most heritage buildings have interesting patterns, such as rows of columns, arches, windows, steps etc. Switch to a zoom lens and capture them from an angle. Play around with different depth-of-field settings and see what works best for you. Look for trees, a pond or any reflective surface to get your creativity going — even the most mundane structure can be made to stand out.
• Adding people in the frame: People in the frame can bring life to the image but do not treat them as the main subject in architectural photography. The focus is on building the structural elements. Remember, adding people in the frame can sometimes be a distraction, taking the focus away from the structure at hand.
• Editing: When using a wide-angle lens, it is essential to ensure distortion correction. This can be easily done with software like Photoshop and Lightroom that compensate for distortion by adding lens correction tools and letting you tweak your images until they look just as they did with the naked eye.
Distortion is basically unnatural bends or curves, especially on the edges. Editing tools are the photographer’s best friend in architectural photography. You can also get creative and try converting the pictures to monochrome, which will, more often than not, turn out great! International award-winning photographer and chartered architect, Tim Cornbill says that the key elements to producing top-quality architectural photography are balance, composition and geometry. A sound mantra to go by.
Lenscraft is a monthly column on all things photography — tips, tricks and everything in between.
The writer is a photojournalist who tells stories with his pictures. Find his pictures on Twitter and Instagram @pushkarv